Ruby on Rails is a framework that includes a lot of tools to structure and develop dynamic web applications.
Rails is a good choice to create an application where a database is required to store information and provides functionality to display, change, remove data and add more as needed.
For example, it could be an app where users register and can write their thoughts for others to see as posts. Users can follow each other and like posts. This would require data to be stored and accessed as users need it, and relationships between data need to be built, Rails responds well to these requirements.
Although Rails can also be used to create static HTML pages, it is probably best to make use of a static generator for that purpose instead.
Hopefully this guide will give you an overview of how to setup a project with Rails 7.0 to the point of where you will be able to see this screen:
Before we begin
A couple of things are required to go through this guide. Rails requires a few tools to be installed before a project can be created. This includes the Ruby programming language, Node, Yarn and a relational database management system. The RDBMS can be either MySQL, PosgreSQL or SQLite, this guide uses PostgreSQL but it shouldn’t make much difference to use one of your choice.
If you need to get these things setup, follow the official Rails guide on how to get started. The guide includes a lot of the things being covered here but it doesn’t include other important details that have tripped me up when setting up a project and might not be that obvious to someone new to Rails.
Finally some knowledge of how to access and run commands on the terminal is required.
Once everything is installed you can check if Rails is good to go by running this command in your terminal:
rails --version
Create a new Rails project
The first step to get started with Rails is to create a new project. This is done using a Rails command in the terminal. Navigate to a folder where you keep your projects and create a new Rails app:
cd ~/Projects
rails new rails-introduction-app -d postgresql
Let’s go through what each command does one by one.
The first command changes directory into a folder named Projects, this is where I would like this app to be created at.
The second command creates a new Rails app inside a folder called rails-introduction-app, the name can be named anything but it tends to be named lowercase separated with dashes. An optional -d flag is provided followed by a database management system name, this is how we can let Rails know which database type we are using, being postgresql in this case.
# other output above...
├─ y18n@4.0.0
├─ yargs-parser@13.1.2
└─ yargs@13.3.2
✨  Done in 9.49s.
Webpacker successfully installed 🎉 🍰
A lot of output will print in the terminal, eventually a new Rails app will be generated in the folder along with a lot of files, let’s have a look:
cd rails-introduction-app
ls
The first command enters the directory of the app, the second lists the files inside that folder, can you see them? There’s a lot of them, but don’t worry we are only editing one of them in this guide.
Configuring the database
In this step we will connect Rails with PostgreSQL, aside from how a database is created, everything else should be the same.
If you’re using a RDBMS other than PostgreSQL, the step of creating a database is still required.
Rails makes use of a database to store application data. In version 7.0, one is required from the start, in this case at least the development database needs to be in place but Rails makes use of three databases; development, production, and test.
Let’s setup all three of them by logging in to postgres, creating the three databases, each prefixed with the name of the project separated by underscores and creating and granting a user rights to access it. Remember this user’s password since it will be needed later:
# Log in to PostgreSQL, in my case the username is postgres
# but might be different in your case
sudo -u postgres psql

# Once signed in create three databases
create database rails_introduction_app_development;
create database rails_introduction_app_production;
create database rails_introduction_app_test;

# Creating a new user, this will be used for Rails to gain access to each database
create user yournewuser with encrypted password 'yoursecretpassword';

# Grant priviledges for the newly created user to manage these databases
grant all privileges on database rails_introduction_app_development to yournewuser;
grant all privileges on database rails_introduction_app_production to yournewuser;
grant all privileges on database rails_introduction_app_test to yournewuser;
To check if the databases and the user have been created, run the following commands whilst in postgres:
# Lists users
\du

# Lists all databases (it is a lowercase L)
\l
Everything good so far? I hope so but please feel free to get in touch if you get stuck! With the necessary databases created we can now let Rails know how to access them.
Open the app folder (rails-introduction-app) in your favourite text editor and open /config/database.yml.
This file includes a lot of comments but here is what we are interested in:
default: &default
  adapter: postgresql
  encoding: unicode
  pool: <%= ENV.fetch("RAILS_MAX_THREADS") { 5 } %>

development:
  <<: *default
  database: rails_introduction_app_development

test:
  <<: *default
  database: rails_introduction_app_test

production:
  <<: *default
  database: rails_introduction_app_production
  username: rails_introduction_app
  password: <%= ENV['RAILS_INTRODUCTION_APP_DATABASE_PASSWORD'] %>
In the first block, there are a few defaults setup, such as which database adapter Rails is going to use to interact with the databases. All other blocks inherit what is set on this block so we can add our username and password here for now:
default: &default
  adapter: postgresql
  encoding: unicode
  pool: <%= ENV.fetch("RAILS_MAX_THREADS") { 5 } %>
  username: yournewuser
  password: yoursecretpassword
Now notice how there’s three blocks, why is that? It is because Rails has three environments that it makes use of, development is the one running on our machine, production is the one everyone gets to use and test is used to run tests that make sure our code does what is supposed to do.
Also notice that the database for each environment matches the database names of the ones we created earlier and the adapter is already set to postgres but the Rails default is sqlite. How?
When creating the app we specified a database adapter with -d postgres. This was taken into account when creating the database.yml file so that value was pre-populated for us.
As for the database names, Rails assumes that’s how they’re going to be named, first the name of the app followed by the environment, all lowercase and words separated by underscores.
Saving your file concludes all initial configuration steps of the app. Rails should now have everything it needs to run.
Running and viewing your app
To start the app run the following command in the terminal:
rails server
This will start the Puma web server, the one used by Rails during development. If ran successfully it should look something like this:
=> Booting Puma
=> Rails 7.0.0 application starting in development
=> Run for more startup options
Puma starting in single mode...
* Version 4.3.5 (ruby 2.7.1-p83), codename: Mysterious Traveller
* Min threads: 5, max threads: 5
* Environment: development
* Listening on tcp://127.0.0.1:3000
* Listening on tcp://[::1]:3000
Use Ctrl-C to stop
To view the app initial screen open the browser and type http://localhost:3000, this is the address where the Rails app can be accessed during development stages.
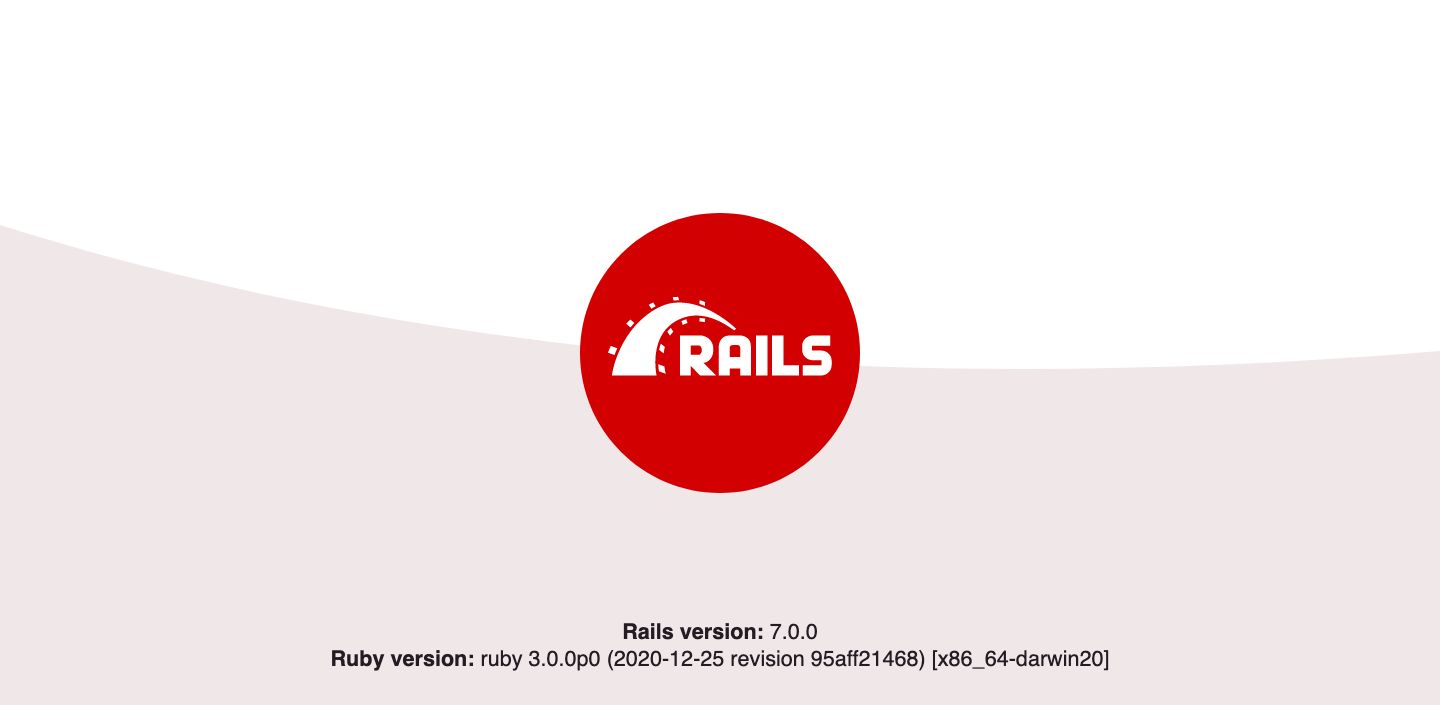
Provided all went as planned, the Rails’ start page should render:
Conclusion
This is how to setup a new project running on Ruby on Rails version 7.0. From this point next steps could be adding views and controllers to add functionality to the app, I’ll try and cover this in a next post but in the meantime the Rails getting started guide is a good starting point.